Make your site faster and more secure with AWS CloudFront CDN and HTTPS
Serving from a custom domain and with HTTPS through AWS CloudFront will improve the User Experience and the Search Engines ranking

In previous post we saw the basics of publishing a static website using AWS S3, but we ended up with a couple of raw edges that need smoothing for a good user experience.
The two main issues we have right now are the following:
- the website is served from the public S3 URL
- the pages can be viewed only via plain HTTP connection without encryption (no HTTPS)
We need to solve both of them to get the most out of our site, otherwise all the efforts spent into creating the site and the content inside it will be useless.
Moving to your custom domain
First of all to better promote your website you definitely need your own domain. Serving a website as a subdomain of some cloud provider won't help you much with SEO, so choose your own domain name and buy it from some provider, just search on Google for "buy domain" and you will be flooded by options like GoDaddy or NameCheap. You can buy a domain for a few dollars per year but choose a good provider with fast DNS servers, otherwise you could still end with a slow connection, and Google doesn't like slow sites, nor do users.
You don't need to buy any hosting service if you are already using AWS S3, so just buy the DNS management service for your domain.
If you prefer to go "all in" with AWS you can even use Amazon's Route 53 DNS Service to buy the domain and manage the DNS records. It should cost you less than 10 USD per year plus the cost of the domain. The latter depends on different factors like the first level domain you choose (.com, .org, .blog and so on).
There is also a cost per query that you pay for, but it is so low (about 0,40 USD per million of queries) that at least to get started with a new site it should add up to a couple of dollars per year at most.
Adding HTTPS
Now that you have your shiny new personal domain name, you need to grab an SSL certificate to enable HTTPS, and for this you can use another AWS service, that is AWS Certificate Manager.
Using this service is a good option because it is of course well integrated in the AWS ecosystem and it is also free, which is not bad at all.
To create a new certificate open the AWS Console and select the Certificate Manager service from the main menu (or search it in the top bar).
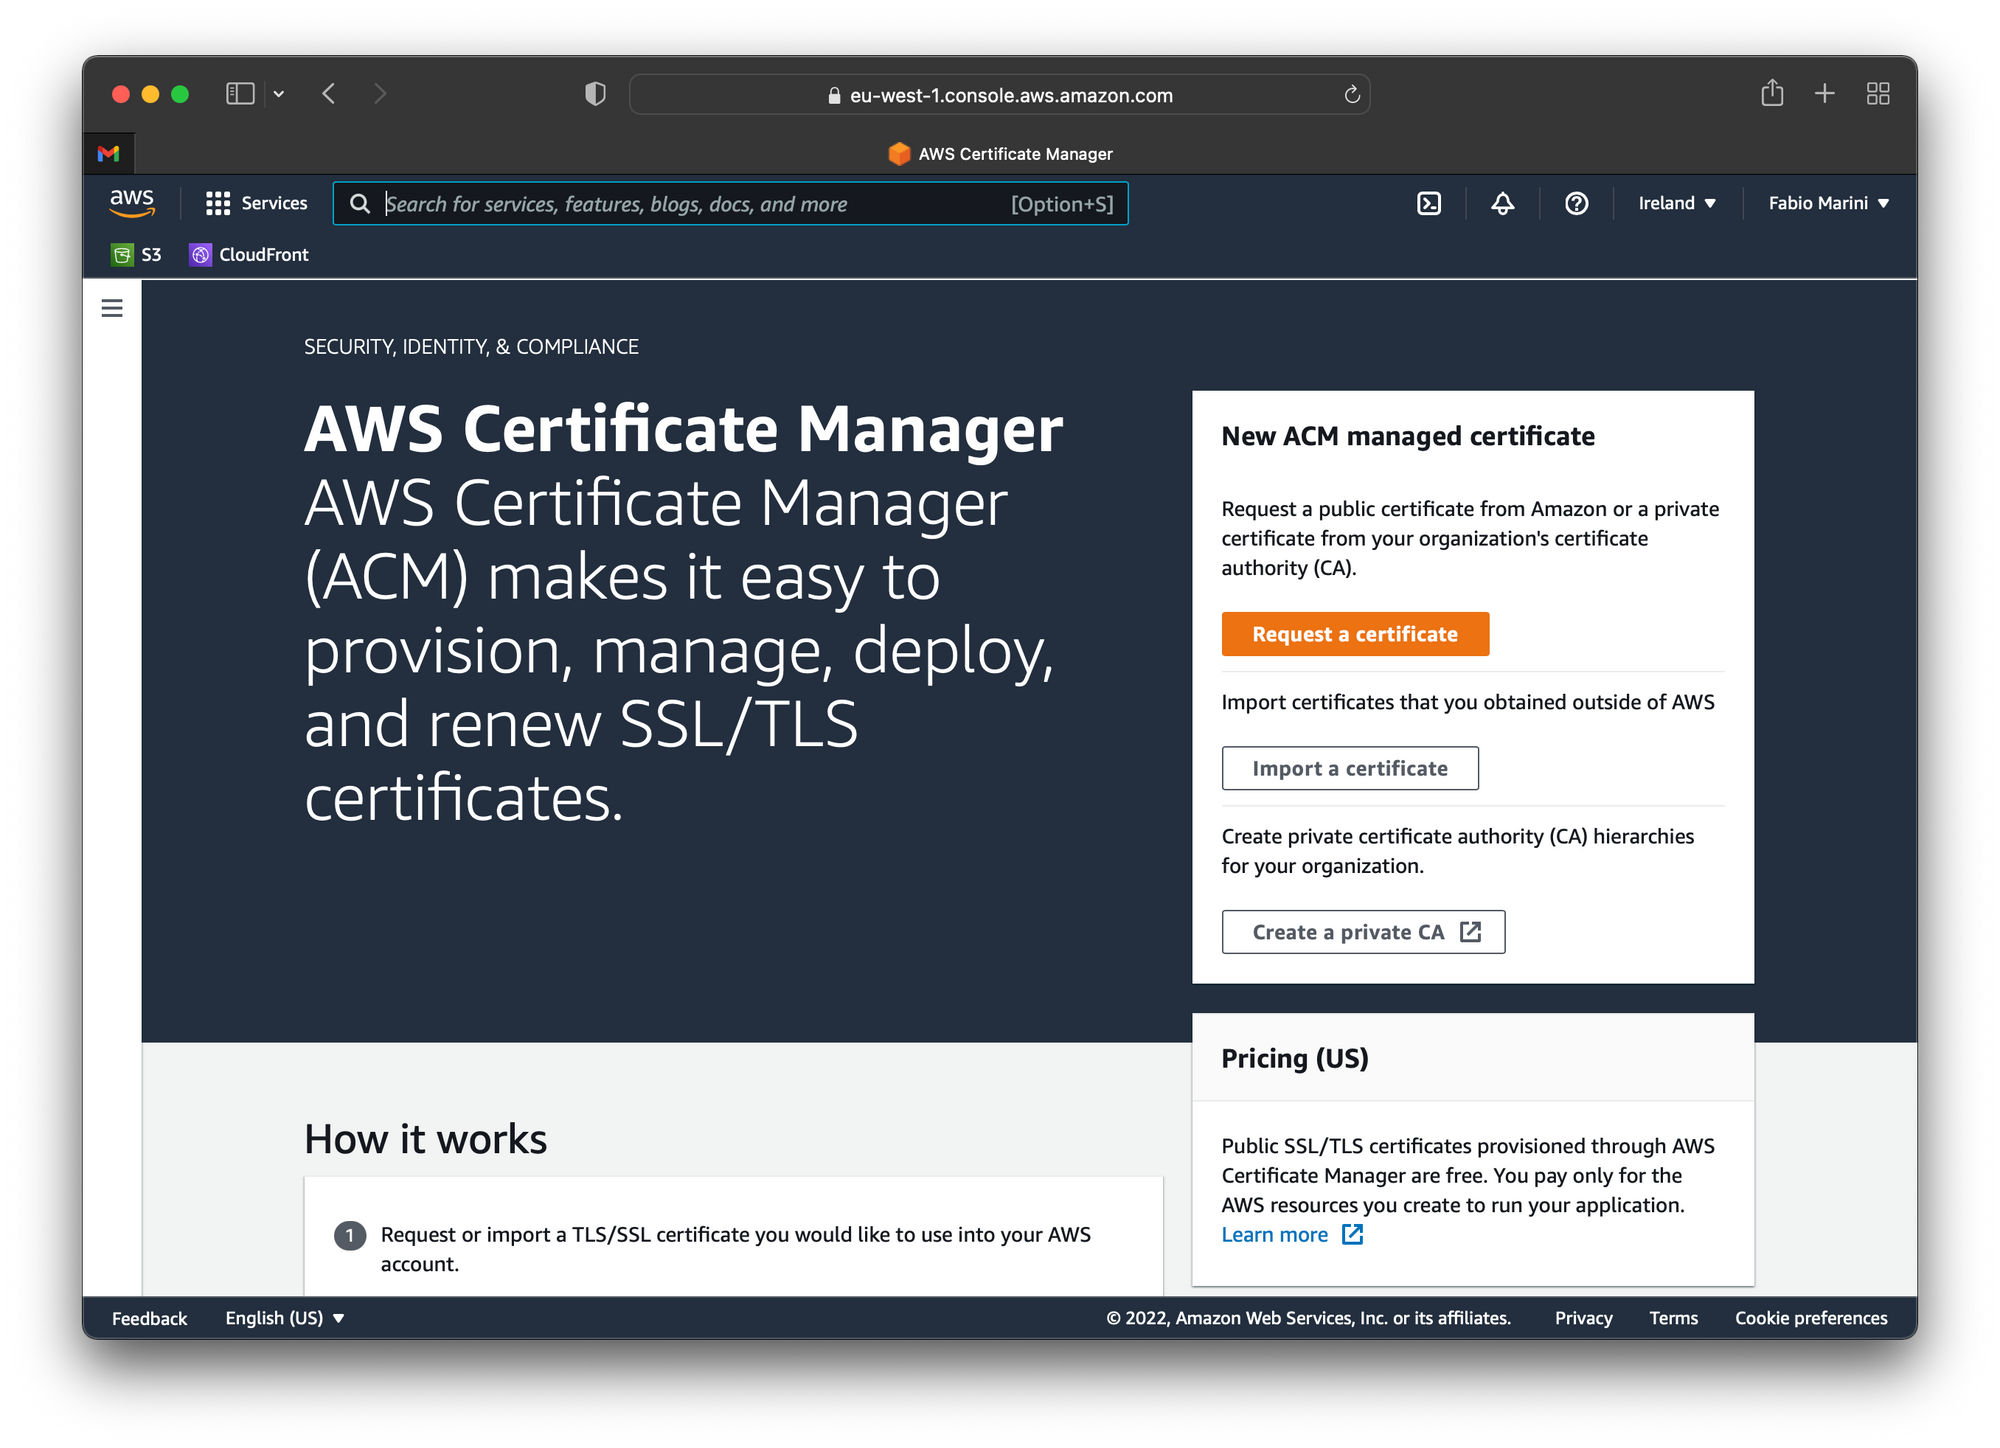
In the right panel, choose the Request a certificate button to start the request wizard.

Select the Request a public certificate and clik Next
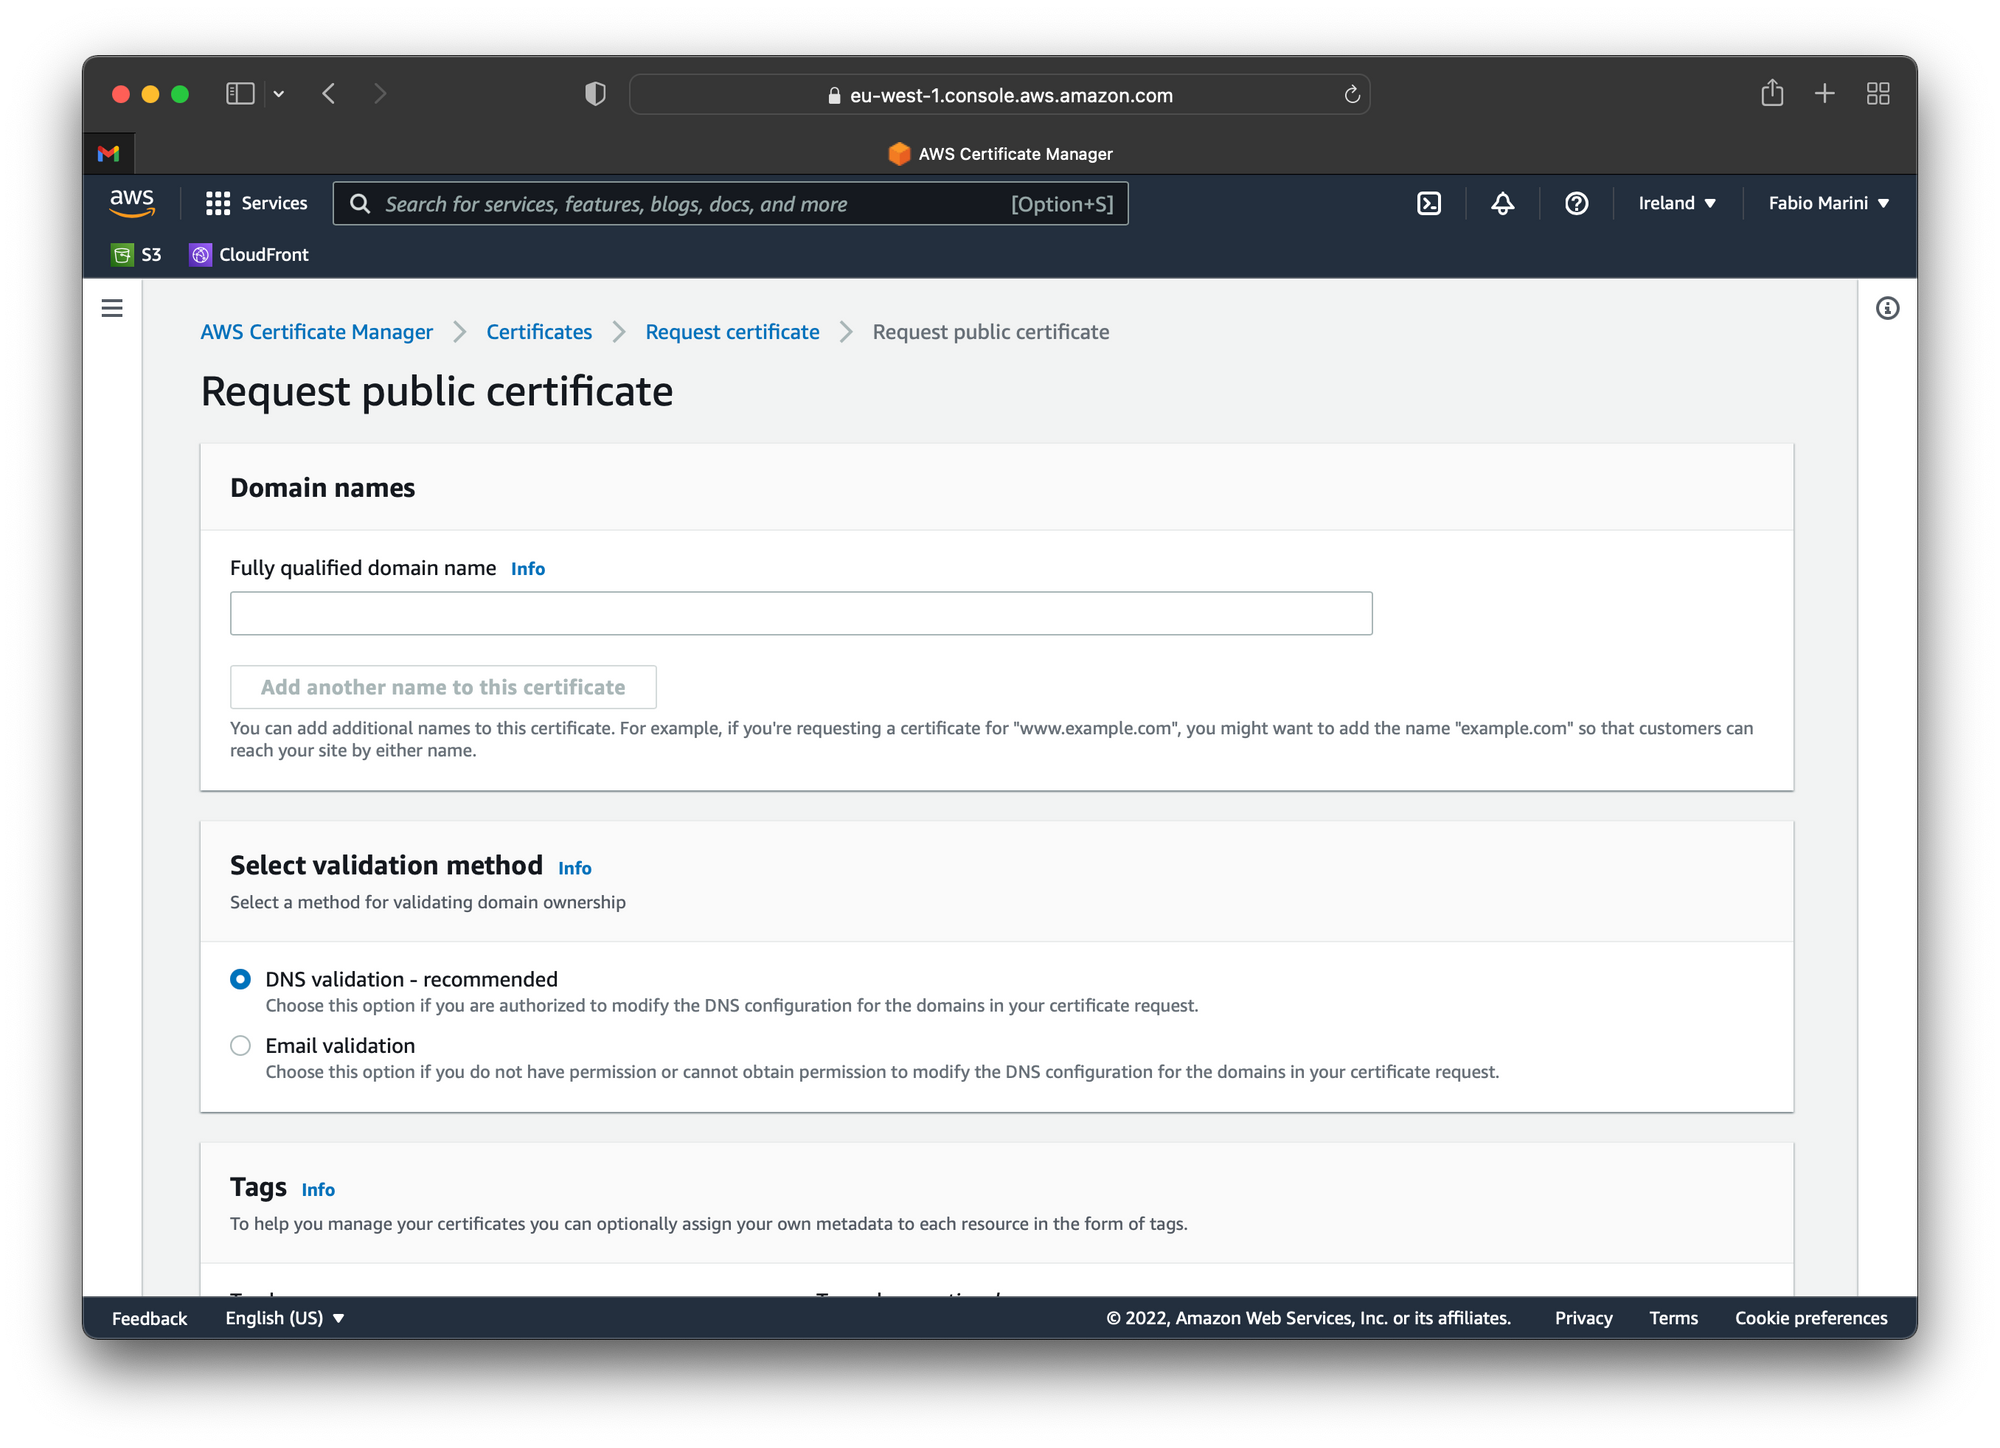
Insert the fully qualified domain name you bought before, like fabiomarini.net in my case, then click the Add another name to this certificate and add the same domain again with the www prefix (like www.fabiomarini.net), then leave the other options to their default values and click the Request orange button at the bottom.
Once the request process is completed, you have to go back to the AWS Certificate Manager console, select the new certificate you just created and scroll down to the Domains panel. Here, in the third column of the table you will find the validation entries that you need to add to your DNS to get the validation for the certificate.
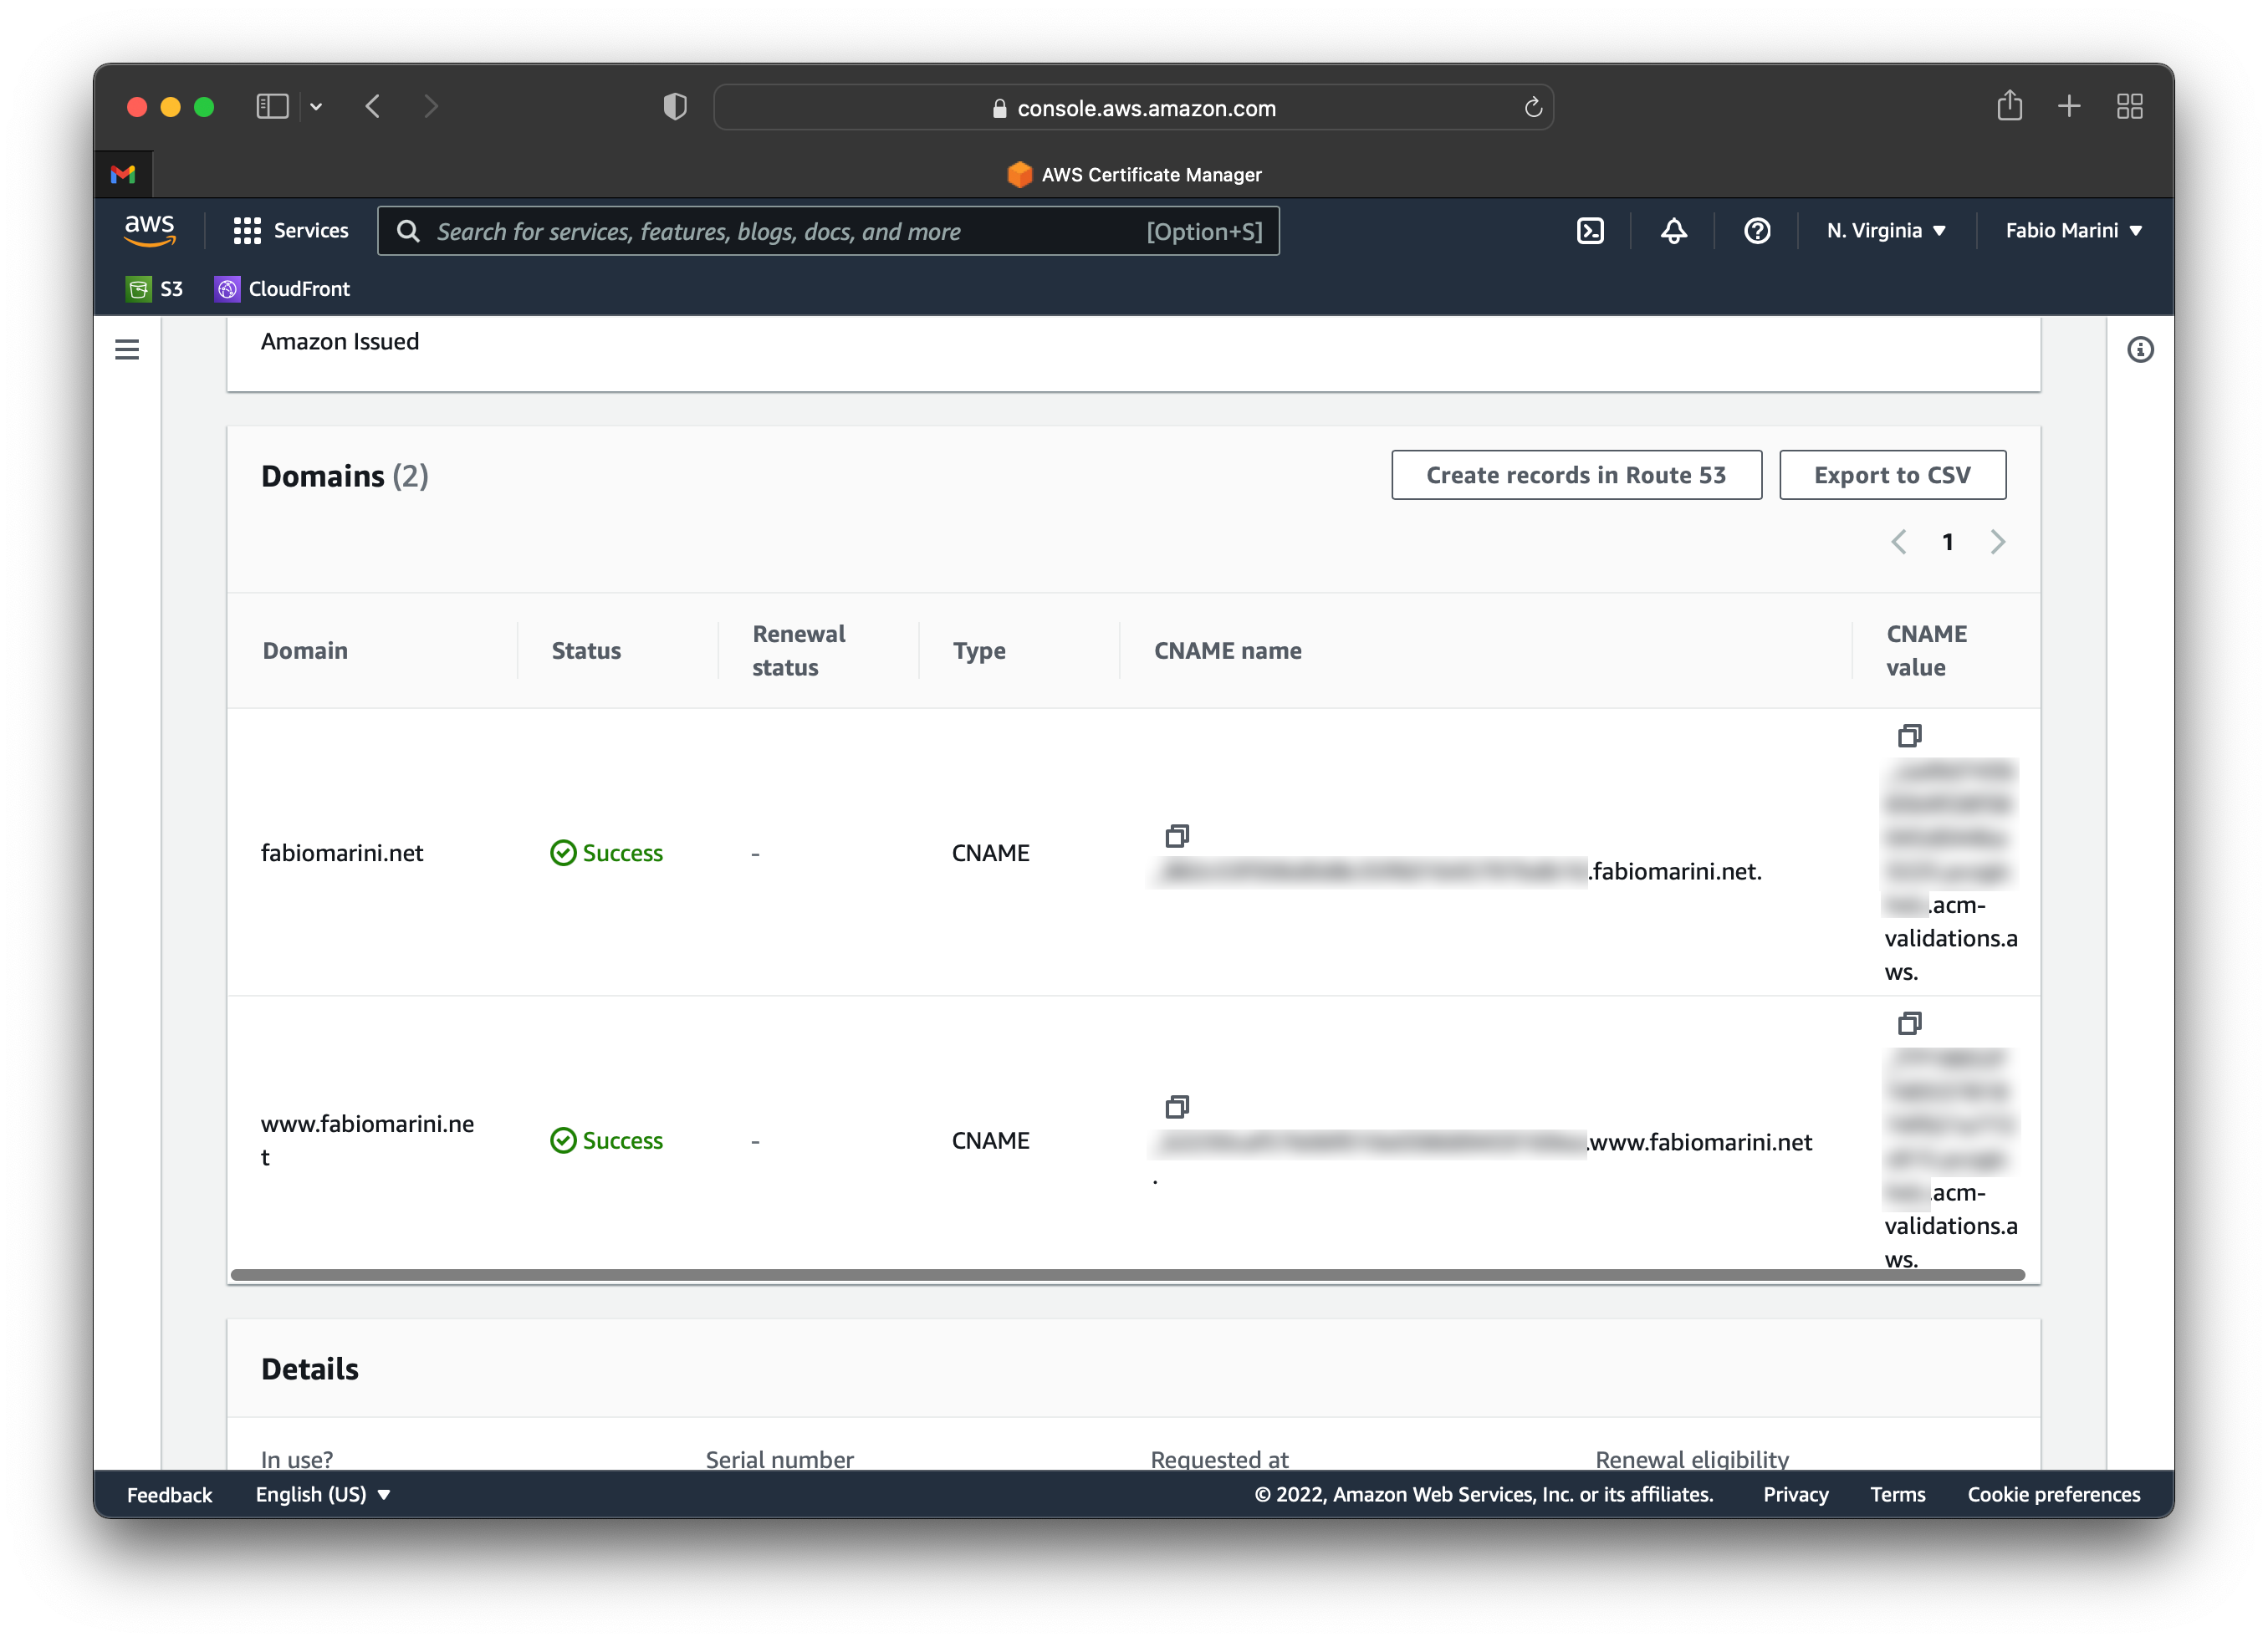
The verfication records are CNAME entries that you need to register for every domain inside the certificate to confirm that you are the owner of that domain name.
Once you have your validation entries configured in your DNS it will usually take a few minutes for the new records to propagate on the Internet and for AWS to get them. Once everything is ok you will get a Success in the status column for every domain in the Domains panel.
Now you are ready to complete the setup with CloudFront CDN using the S3 bucket you previously created as a source for your website, and the new domain protected by HTTPS.
CloudFront Setup
To setup CloudFront, from the AWS Management Console, select CloudFront from the menu or search it from the search bar, then from the Distributions submenu, click the Create distribution button.
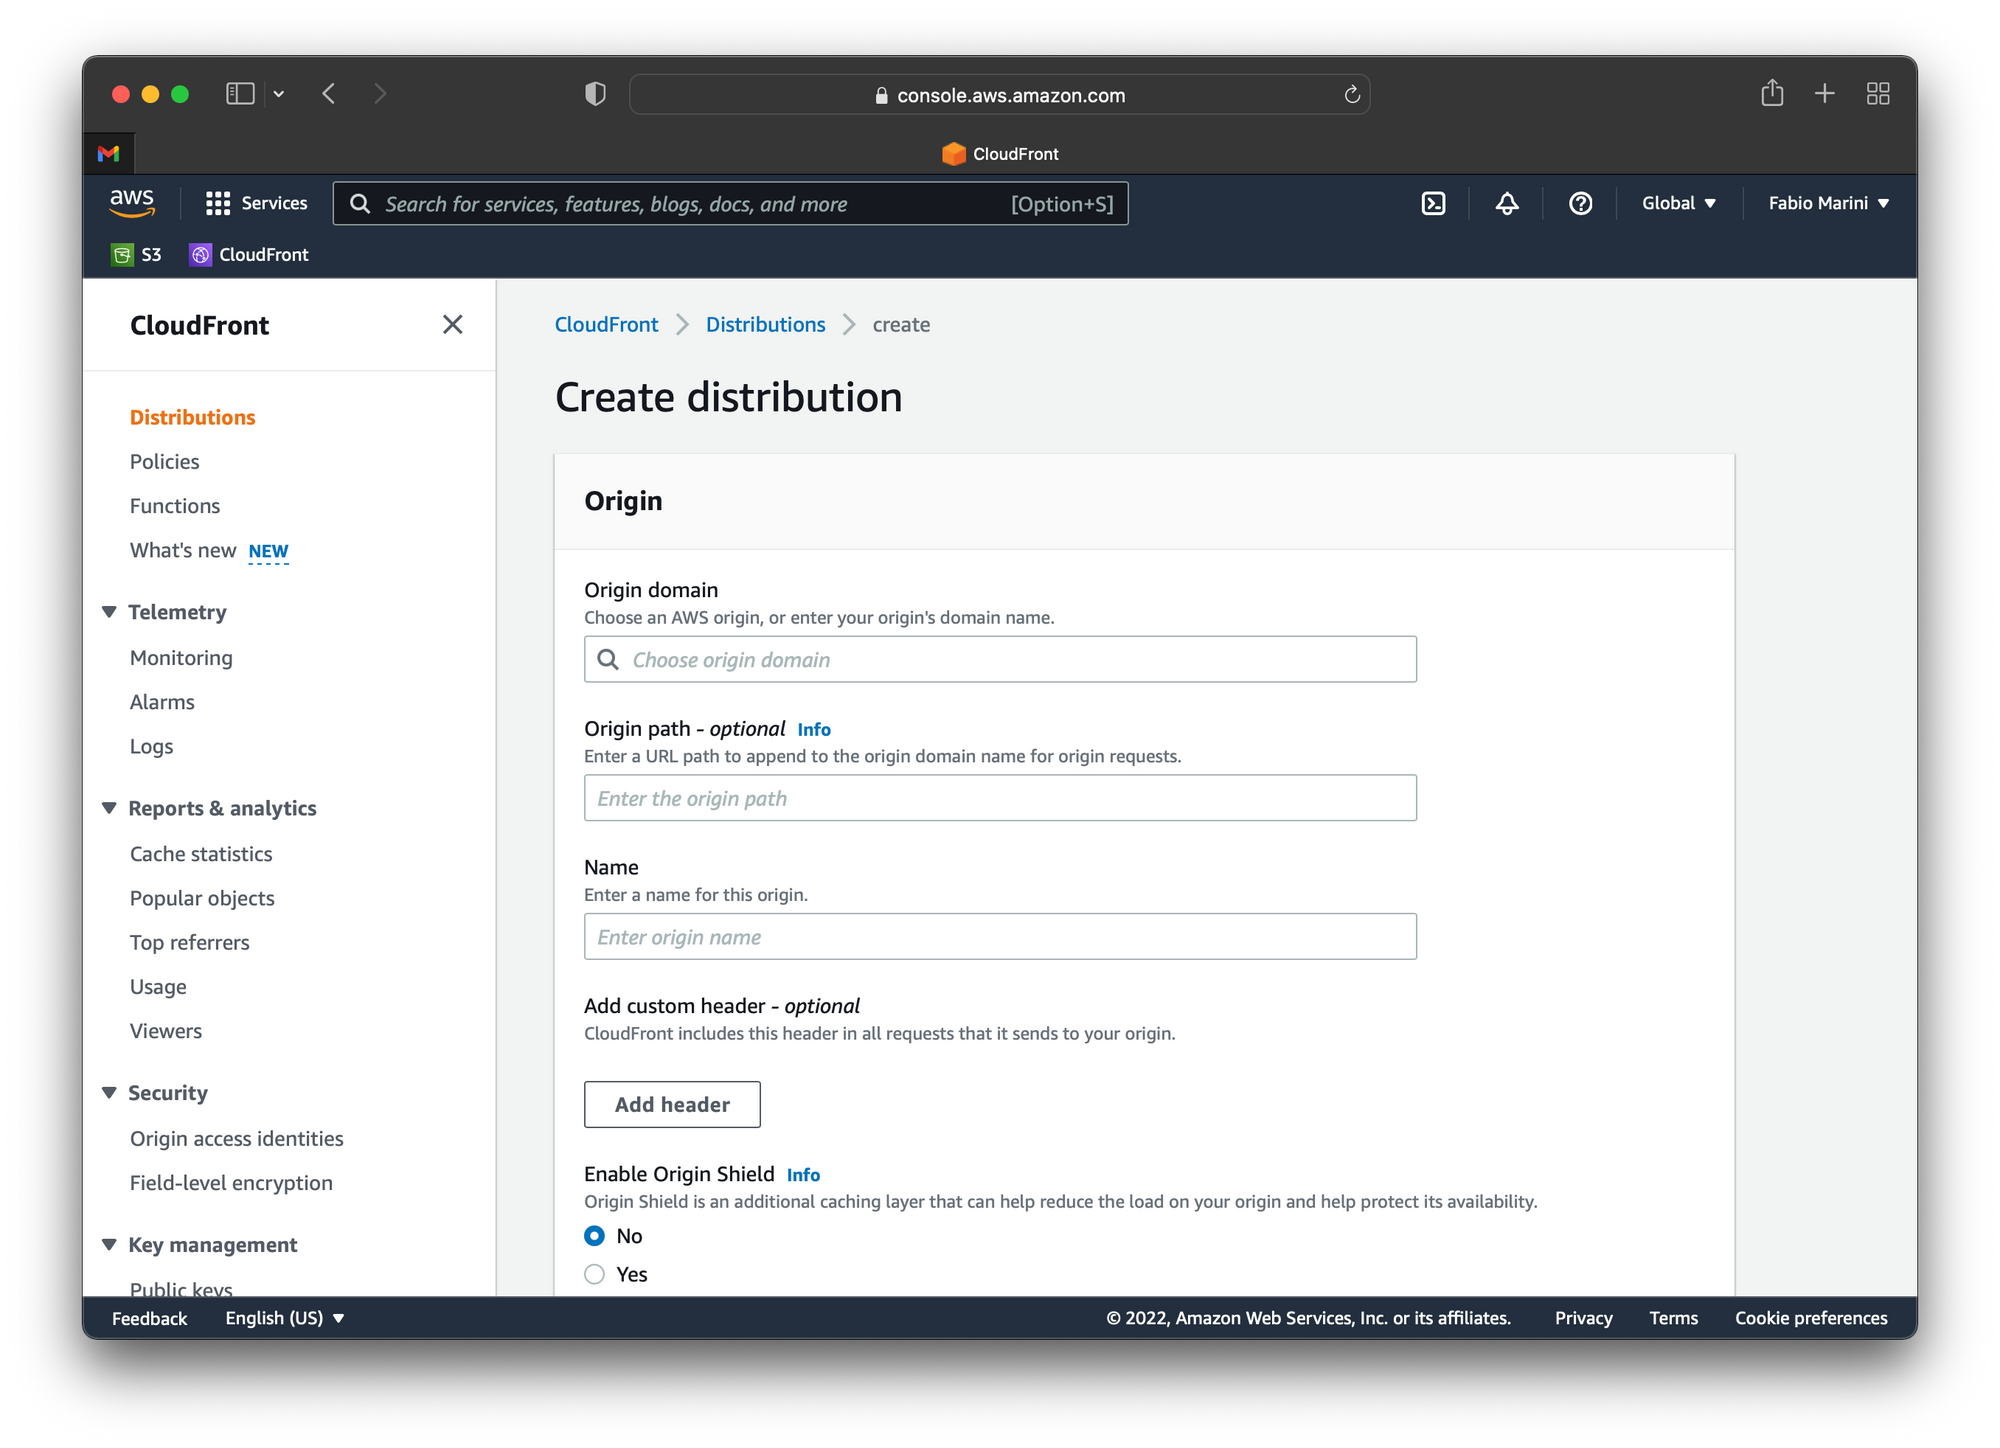
In the Origin domain input field paste the public domain of your S3 bucket. Be careful not to select the S3 bucket from the list otherwise you will not be able to access your website. Instead go back to your S3 bucket and copy the URL from the Static website hosting panel at the bottom of the page in the Properties tab.
In the Origin path - optional field you can add /index.html or leave it blank, then in the Name field enter a name that remembers you the purpose of this distribution.
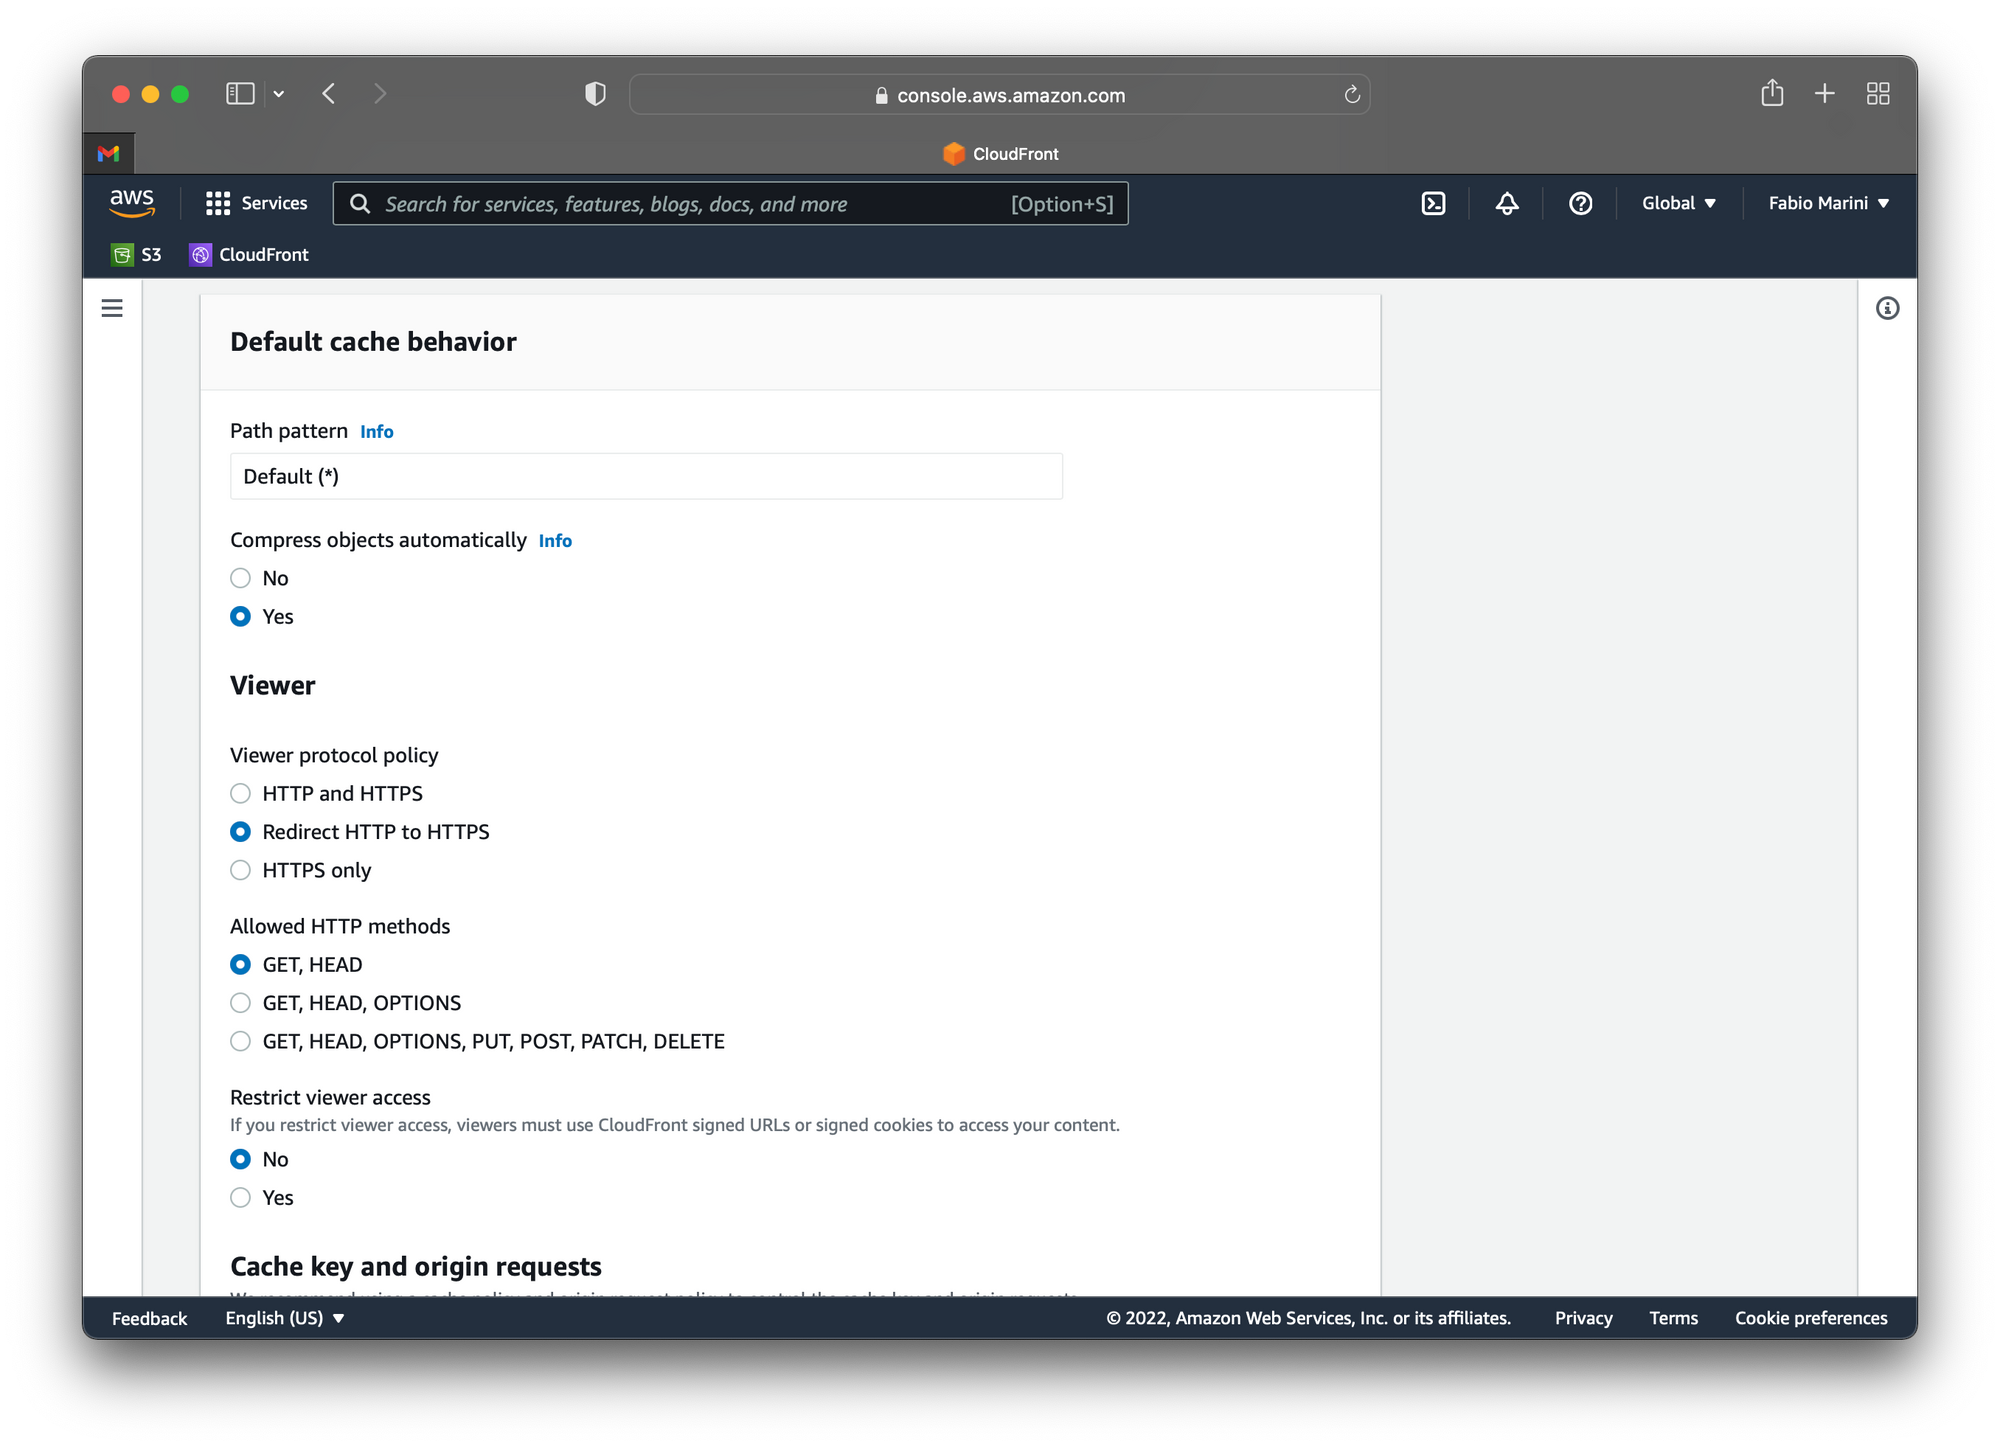
Scroll down a bit and in the Default cache behavior panel, under the Viewer protocol policy select Redirect HTTP to HTTPS. This is not strictly needed but it will drive all users to use HTTPS instead of HTTP, and this is a best practice.
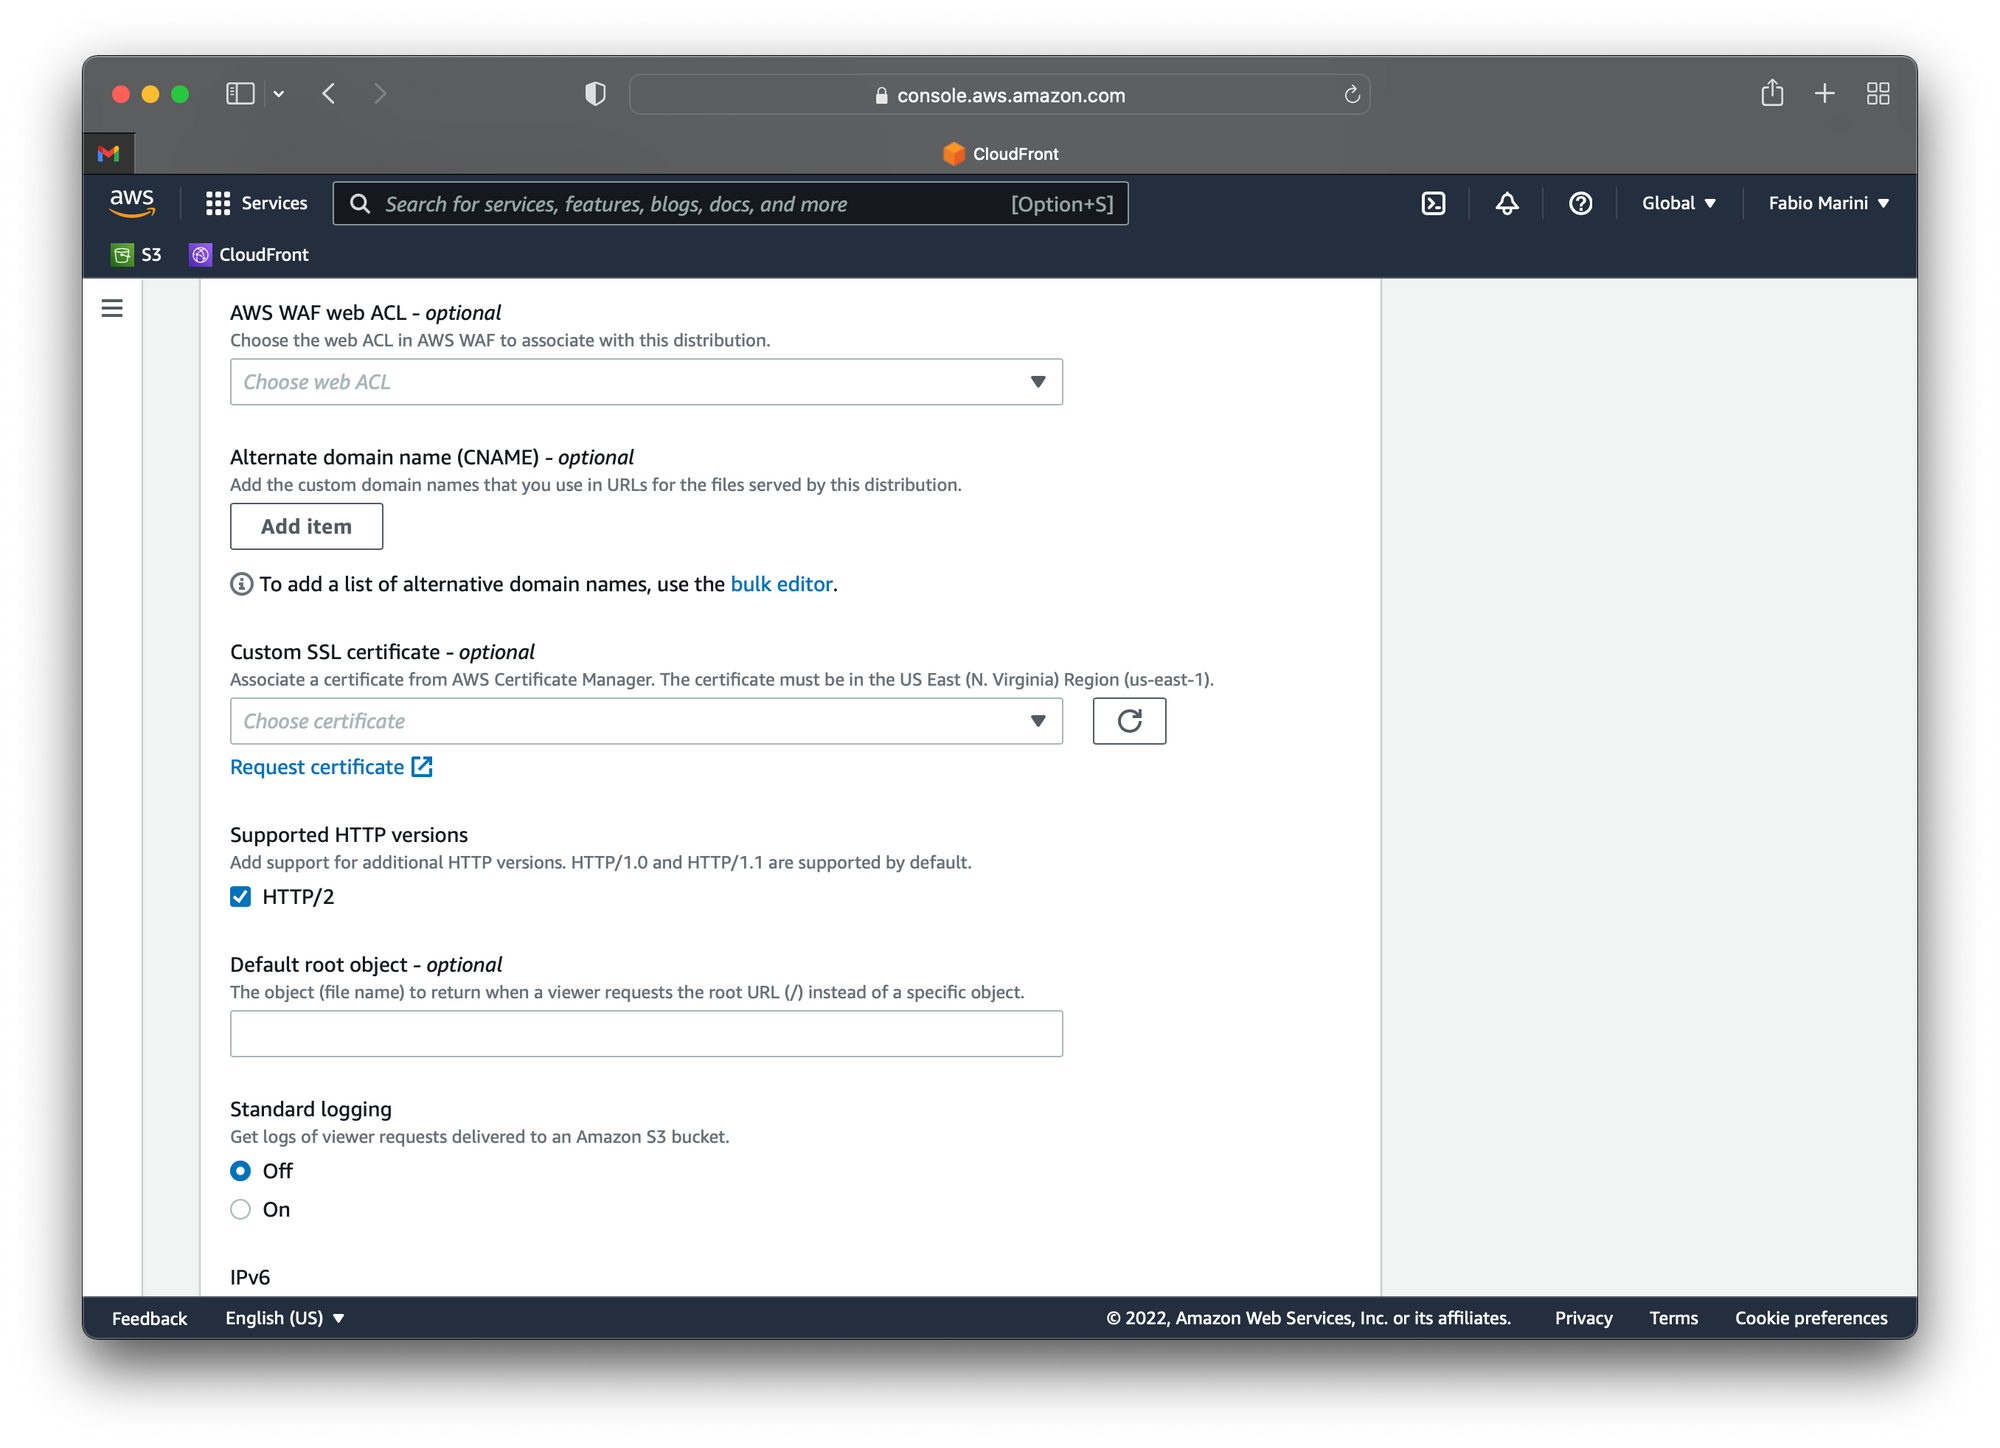
Scroll down a little bit again and look for the Custom SSL certificate - optional field, then click it and select the previously created certificate to enable HTTPS for your custom domain.
Confirm the creation of the new distribution with the Create distribution button at the bottom of the page to get back to the main CloudFront console. Wait for the new distribution to complete the creation process and open it by clicking on its name to see the details.
In the General tab, the top most panel is the Details panel, in which you can find the domain address of the distribution. Copy it and add a new CNAME record in your DNS for the main domain and the www subdomain pointing to this address.
In case of the second level domain (the one without www), most DNS provider don't allow you to add a CNAME record, so you need to add one or more A records pointing to some IP address.
To get the IP addresses of your distribution open a shell on your computer and use dig or ping. Dig is better because it let you look into all the DNS records of the CloudFront distribution, while ping will only get one address at a time, but calling it a few times will give you all of the IP address of the distribution. Usually every CloudFront distribution should have at least 3 IP addresses so try to get them all.
Relying on the IP addresses of the CloudFront distribution is not the most reliable option because they could change in case of problems with the AWS datacenters, but they are stable enough to be used for non critical websites.
Checking the results
If you got to this point you should now be able to have your website served by the CloudFront CDN from the AWS endpoint closer to your location, so it should have the lowest latency.
You now have your static Ghost site served from AWS S3 through CloudFront using your custom domain and protected by HTTPS. And it should be fast, I mean, very fast.
To check this, try the Google Lighthouse benchmark after completing all the steps, but just wait a few minutes after completing the creation of the CloudFront distribution to let AWS distribute the content across its datacenters and get the best performance.